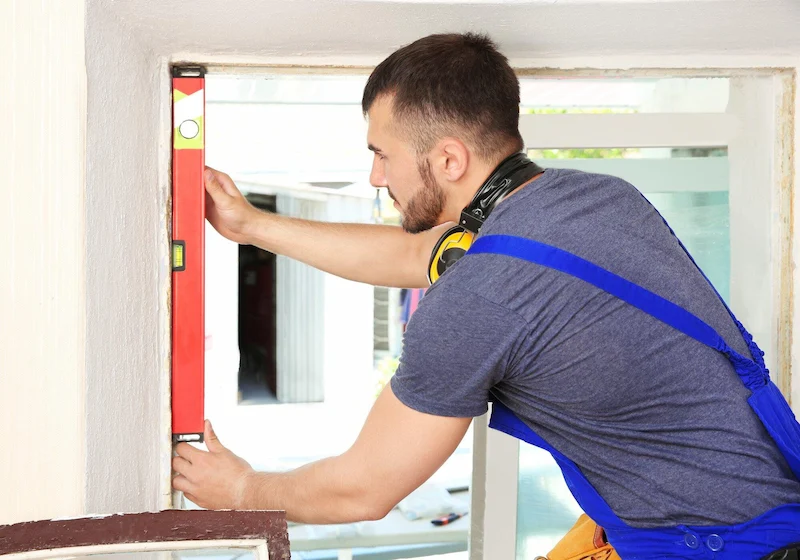
Windows are the eyes of a home, letting in the light and offering a glimpse into the world beyond our walls. However, time and weather can take their toll, leaving window frames looking weathered and worn. Learning to restore these essential elements not only improves the aesthetic of your home but also prevents potential damage and helps maintain its value.
In this guide, we’ll take a pro-level approach to repair window frames, ensuring that your home’s eyes are as clear and vibrant as the day they were first installed.
Step 1: Assessment and Preparation
Begin by carefully assessing the condition of your window frames. Look for signs of rot, rust, mold, or damage from pests. If the damage is extensive, you may need to consider replacing the frame entirely. For minor issues, such as peeling paint or small cracks, restoration is the way to go.
Next, prepare the work area by covering nearby furniture and flooring to protect them from dust, debris, and any products you’ll be using. Remove all hardware from the windows, such as locks and handles, and safely store them for reinstallation later.
Consulting a window restoration service can provide tips on proper assessing and preparing for the repair. Check out https://www.westlakewindowglass.com to learn more about window maintenance and home renovations.
Step 2: Cleaning and Stripping
Proper cleaning and stripping are essential steps in the restoration process. Use a mild detergent and water to clean the surfaces of the frame, removing dirt and grime. For tougher stains, consider using a specialized cleaner recommended for your frame material.
After the frame is clean and dry, it’s time to strip away old paint or finish. Carefully scrape away the old coating with a putty knife or paint scraper, taking care not to gouge the material beneath.
Step 3: Repairing Damage
With the old finish removed, you’ll likely uncover some areas that need repair. For wood frames, this might involve filling in cracks and holes with wood putty. For metal frames, you may need to sand away rust and patch with a compatible product.
After repairs are complete, sand the frame’s surface to ensure it’s smooth and ready for refinishing. Take care to remove any splinters or rough patches that could be a future problem for your freshly restored frame.
You may like – How to Maintain and Protect Your Exterior Window Casing for Longevity
Step 4: Priming and Painting
Priming is a vital step that should always be prioritized. It provides an ideal surface for the paint to adhere to, as well as additional protection for the frame material. Use a primer specifically formulated for your window frame material.
After the primer has dried, proceed with applying the first coat of paint. Use a high-quality, exterior-grade paint that will withstand the elements. Apply additional coats as needed, ensuring sufficient drying time between each coat.
Step 5: Finishing Touches
After the final coat of paint is dry, it’s time to add the finishing touches. Reinstall any hardware you removed, and give the window a final inspection to ensure everything looks as it should.
If you’re pleased with the results, give your window frames a protective finish. This could be a clear sealant or additional coats of the same type of paint used for restoration.
Use These Tips to Repair Window Frames Today
Remember, every window frame is different, so tailor your approach to the specific needs of your frames. With patience and the right tools, you can turn back the clock on your windows, allowing them to shine again with a warmth and charm that welcomes you home each day. Use these tips if you repair window frames.
For further reading, check out our blog for more informative articles.
You may like – Complete Property Maintenance: Services You Didn’t Know You Needed


